When considering installing a homelift, one of the main concerns at the forefront of people’s minds is the mess, fuss, and disruption caused by the installation. However, the idea that a homelift requires extensive building work and structural changes to be made is, in fact, a huge misconception.
Often requiring nothing more than a hole to be cut between two floors and a wall plug to be fitted, Homelift installations are usually quick, straightforward, and over before you know they’ve even begun, leaving you with a safe, stylish addition to your home without the headache you expect to come with it.
Let’s answer a key question:
How long does a homelift installation take?
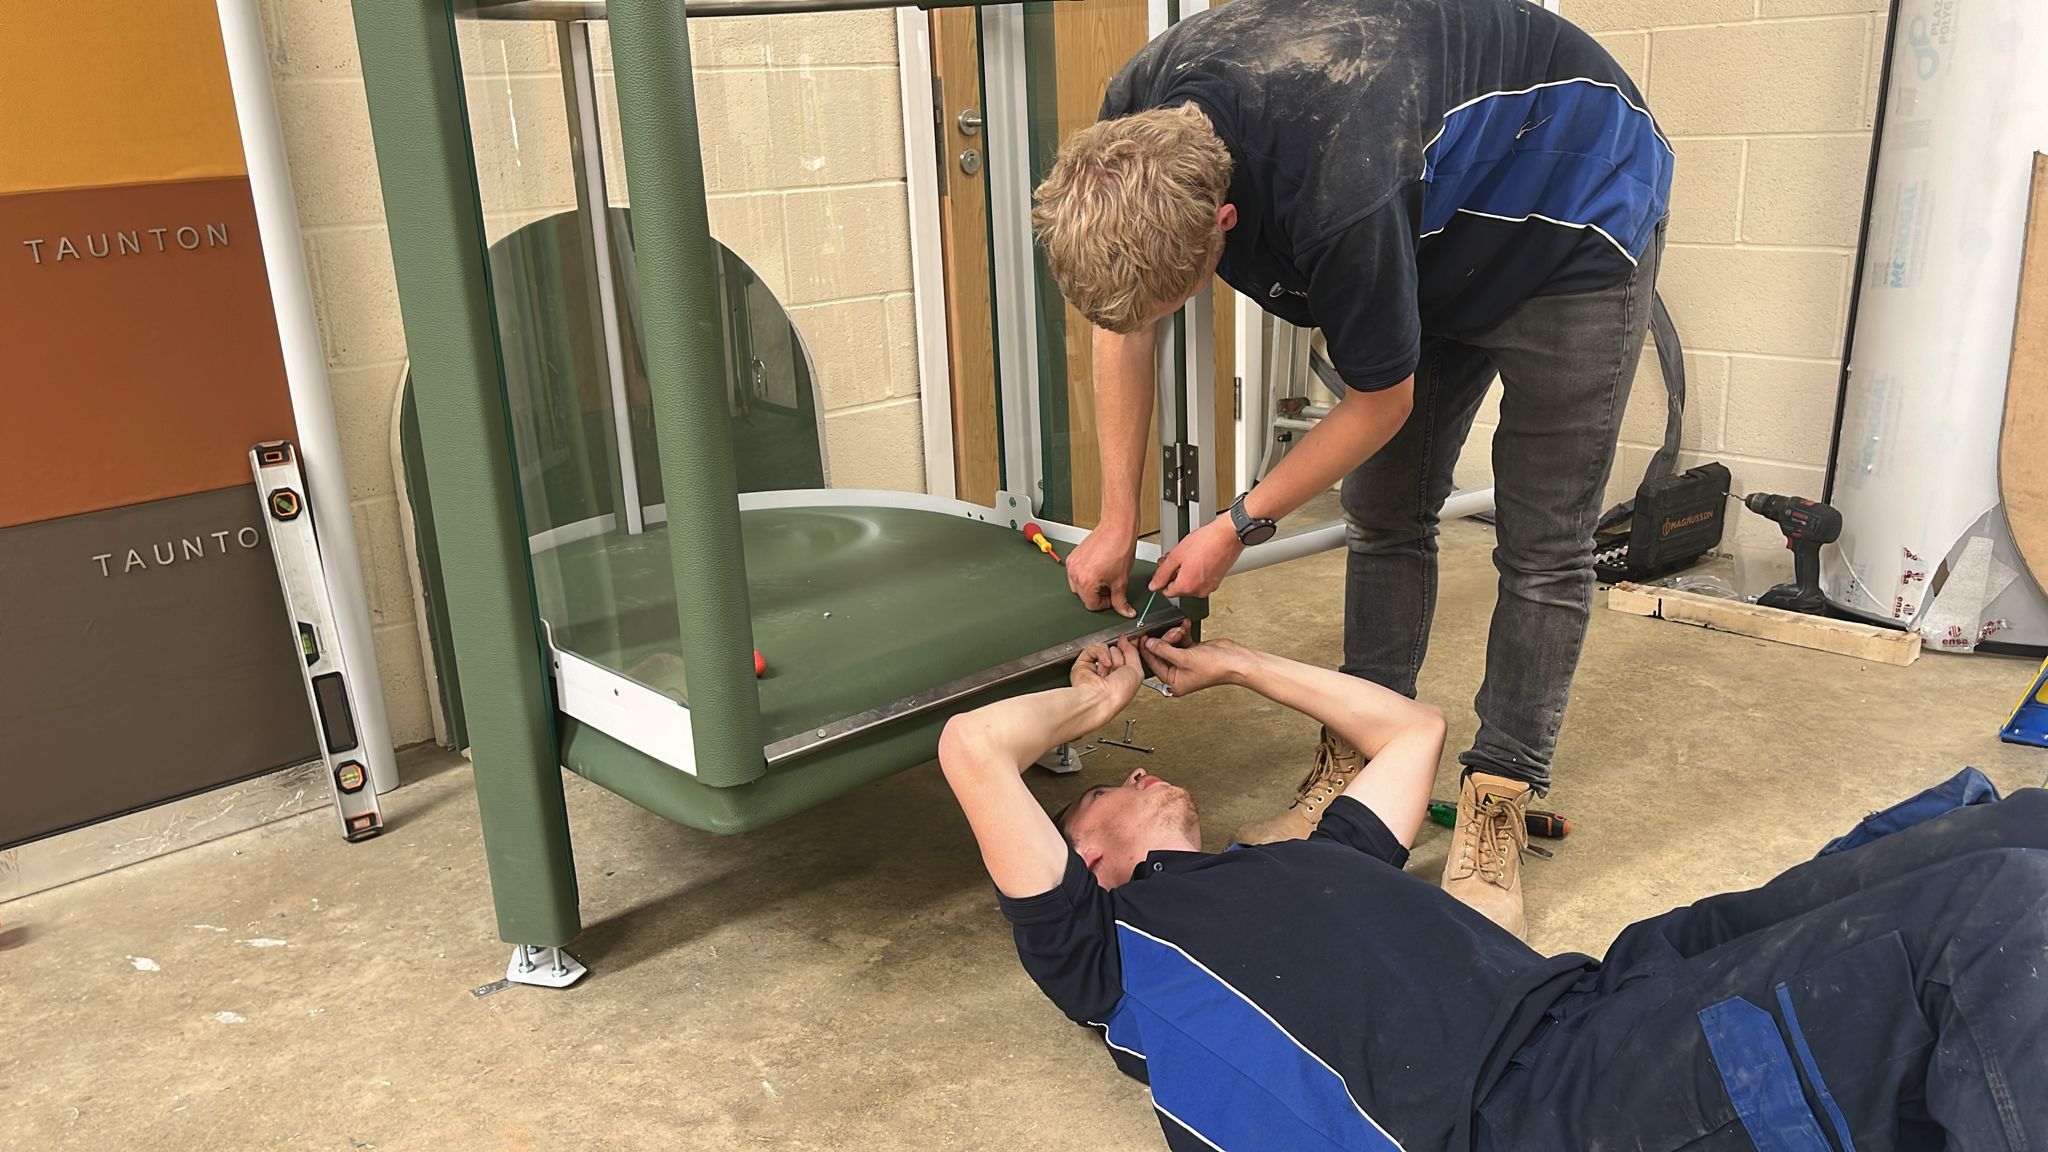
A Taunton Homelift is a self-contained electric lift without a pit or shaft. Installation typically takes two days, including the initial cutting of the aperture, which means minimal disruption to your home and life.
Now let’s dive into the ins and outs of a homelift installation so that you can see how easy and seamless it can be, and know exactly what to expect.
The First Steps
1. Initial Consultation and Assessment
The first step any potential homelift owner will need to take is getting in touch to schedule an initial consultation. That’s when we’ll come to your home to assess both your needs and floorplan. This will involve evaluating the space available and structural considerations, walking you through options of where to install your lift for maximum comfort and practicality. Homelifts only actually require as much space as a small cupboard, making them highly versatile and giving homeowners many options of where to install them.
Questions you may want to ask yourself in preparation include:
- Practically, where are the main areas of your home you need to travel between?
- Would you prefer a discrete placement, maybe in an existing cupboard, the void of a stairwell, or a garage? Or are you happy to make your Taunton Homelift a central, stylish feature of your home?
- Which colour upholstery would best match your décor?
- Which comfort or safety features are most important to you, and which optional extras would it be nice to have?
You’ll also receive a presentation about our lift, which will explain how it works so you can better understand whether it meets your needs and ask any questions you may have.
We always recommend chatting to a few lift manufacturers and dealers to get a clear idea about what’s out there and the options available. This will ensure you settle on the homelift that will truly meet your needs and fit into your home.
2. Planning
Once you have settled on the homelift for you, the next step is the planning phase, where detailed plans and specifications are drawn up about how and where your homelift will be fitted. These plans take into account the structure of your home, ensuring that the homelift integrates seamlessly with your existing architecture. Professional designers and engineers will work together to ensure that the lift not only functions perfectly but also complements your home’s aesthetic.
Some of the initial questions customers often have include:
Where can a homelift be installed?
Pretty much anywhere in a home, is the answer. Whether between a living room and upstairs bedroom, downstairs to upstairs hallway, in a wardrobe/cupboard or within an existing stairwell, homelifts are so versatile that almost any room in a house is an option. This means that a homelift can be placed in the location that is most practical for the user and everyone else living in the home.
Can a homelift be installed in an existing building?
Absolutely! While traditional passenger lifts require deep pits, shafts, and lots of machinery, homelifts were actually designed to fit into pre-existing homes. Their compact mechanics are all located in the top of the car, which means that you don’t even need a ceiling that is higher than average – between 2.30 metres and 2.4 metres – it requires no more space than the size of the lift itself and can be installed directly on the floor.
Do you need a building permit to install a homelift?
The good news is that a building permit is not usually required in the UK. Either way, we assess each home on a case-by-case basis and will take care of any permits you may need.
The Installation Process


Once all your questions have been answered, the sketches have been drawn up, and all plans finalised, a date can be set for the installation of your homelift. These are the steps you can expect:
Preparing the Installation Site / House alterations
Though a homelift installation in itself doesn’t require much preparation, sometimes alterations need to be made to a home to increase comfort and practicality. This may involve removing a staircase, modifying existing structures to accommodate the lift, or moving pipes or electrical wiring. This site prep includes cutting the aperture through the ceiling, takes place before the lift installation and is carried out by professional contractors to ensure that it meets all safety and structural standards. It all depends on what will be done in this stage, but you can generally expect to continue living in your home as normal while this work is carried out, although the area where the work itself is being done will probably be out of bounds. We take care of this stage, so you won’t need to worry about hiring external companies.
Delivery, Assembly, and Setup
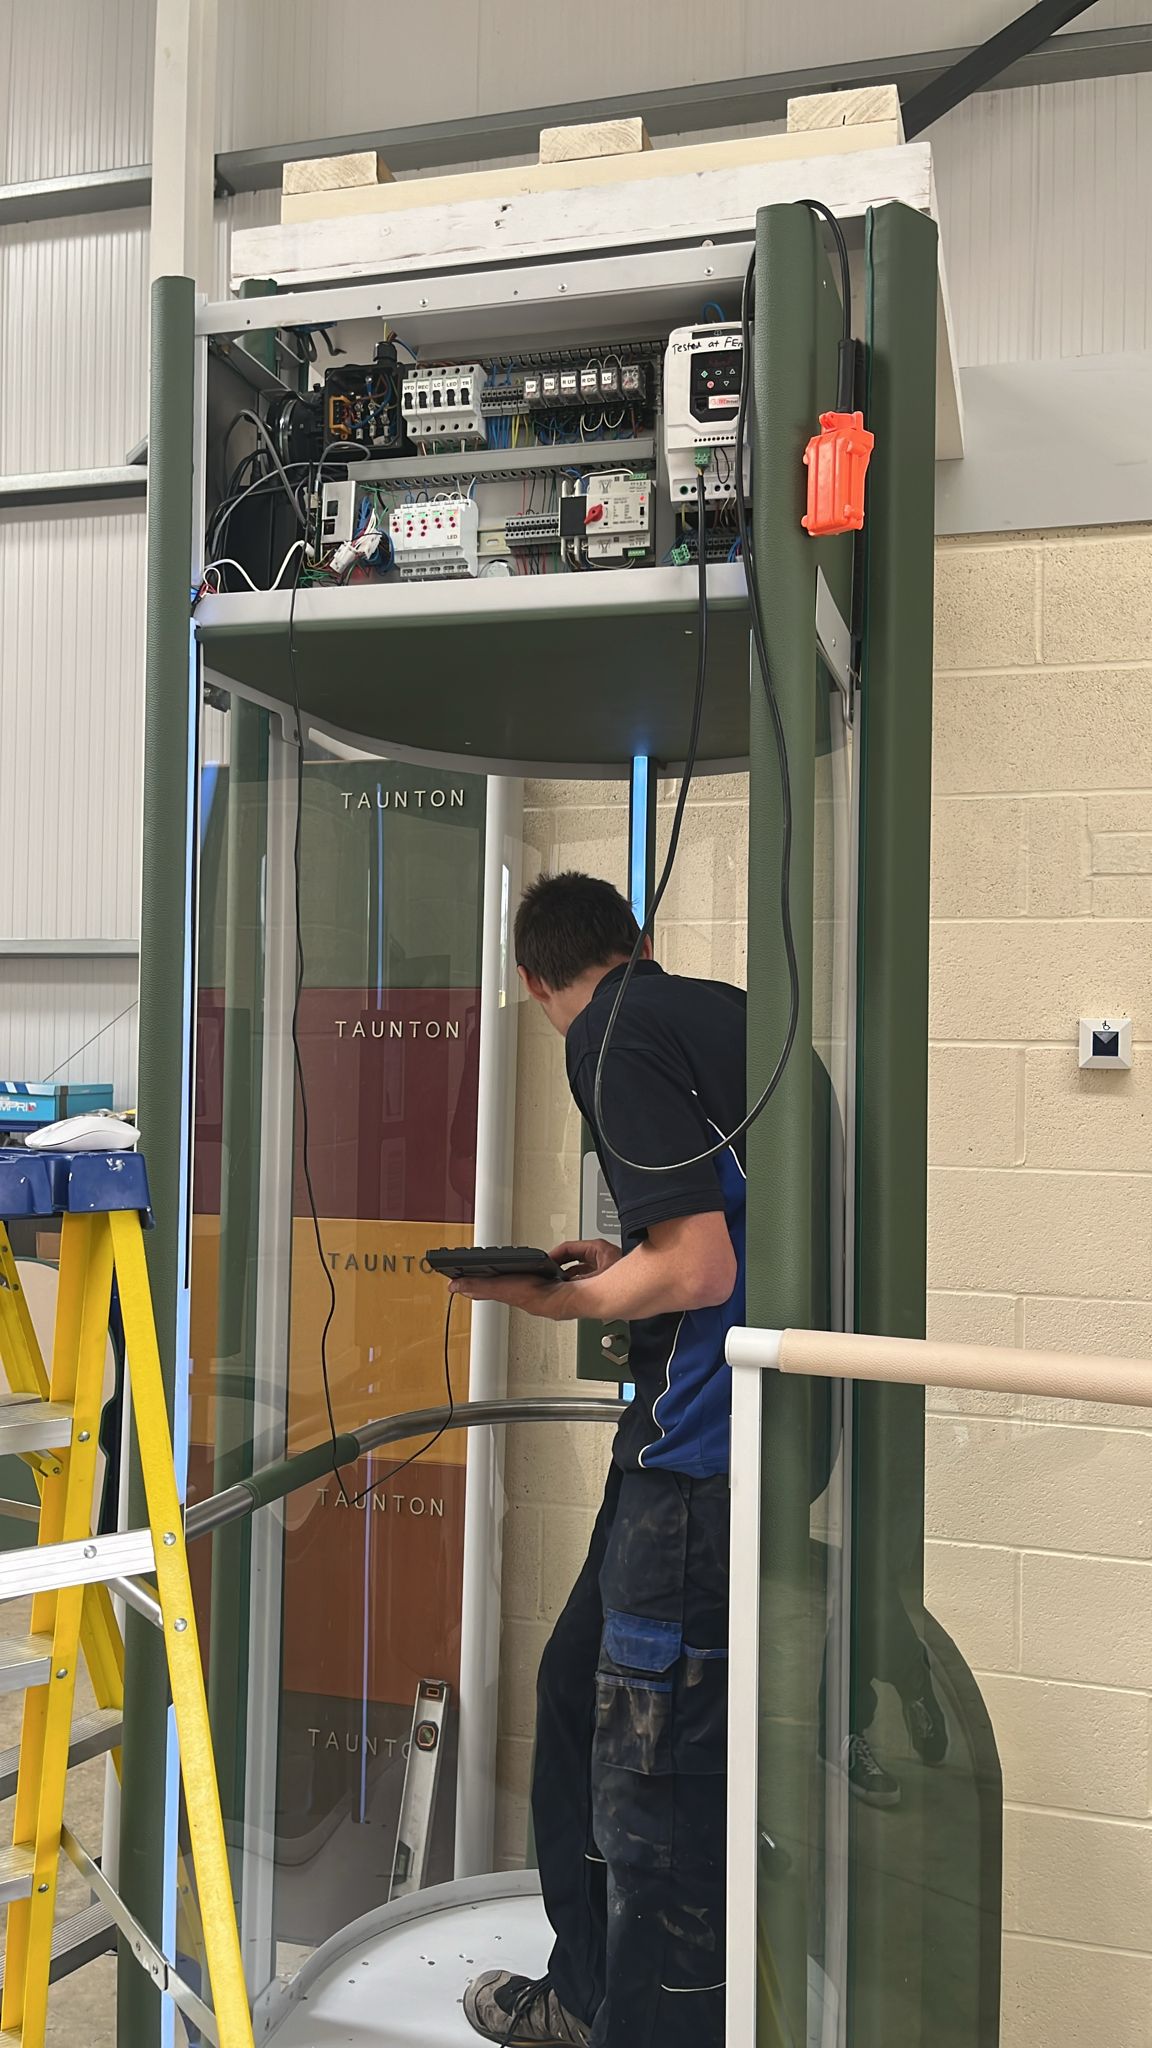
Once the site is ready, the modular components of your homelift can be delivered, and are then installed on-site, fitting together quickly and seamlessly. Once assembled, the electrical and mechanical systems are set up by trained professionals, including connecting the lift to your home’s power supply. All your lift will need is a standard wall plug, so ensuring there’s one in the right location that can be used exclusively for your lift is part of our initial survey and prep work.
Safety Testing
Once set up, comprehensive tests are run on your homelift to ensure it meets every safety and operationality standard. This covers every safety feature, such as emergency brakes, sensors, and communication systems, ensuring they work correctly.
After your Homelift Has been Installed
Using your lift for the first time!
Now for the fun part! Once your homelift has been installed and tested, it’s ready for your first ride, where you’ll be shown exactly how to use it. Detailed instructions will be provided about using your homelift safely and effectively, ensuring that you and your family feel comfortable with every aspect of lift operations. Taunton homelifts are fitted with a Raspberry Pi tablet, so we’ll also show you how it works and what you can do on it.
Ongoing Maintenance and Support
All the work on your lift will now be complete, and our installation team will leave your home clean and tidy and your lift ready for use. However, like any other appliance, your homelift will require ongoing maintenance to ensure long-term safety and reliability. Many companies recommend annual maintenance, but at Liberation Homelifts, we can remotely monitor lift usage and tailor your lift maintenance to actual usage, ensuring you only call us out when you need us!
As you can see, a homelift is a hassle-free, straightforward process that will have our professionals in and out of your home in no time, leaving you with a fully operational lift that truly transforms your life. We’ll then be available for any ongoing support you may require and will only be a phone call away if you need us, so all you’ll have to worry about is getting re-acquainted with your new appliance, stress-free.

